To Create Custom Power Plan in Windows 11 is another Important article. Power Mode Settings in Windows are usually used on the Laptop. This Setting allows us to control the PC/Laptop’s power consumption. To change the Power Mode options in the Laptop, You can Increase your Battery. Windows 11 has many advanced features. In Power Mode Settings, Windows 11 Provide three different Plan.
1) Balanced
2) Power Saver
3) High Performance
On the other hand, Windows 11 also Provide us with another Option to Create your custom power plan according to yourself.
Steps to Create a Custom Power Plan in Windows 11
This blog will teach you how to create a custom Power Plan In Windows 11. There are the following steps ;
1. Create a Custom Power Plan
2. Customize the Power Plan
3. How to Delete a Power Plan on Windows 11
Let’s start it.
Create a Custom Power Plan on Windows 11
First, you need to access your custom power plan in Windows 11. There are the following steps here;
- First, open the Window Start Button and search Control Panel.
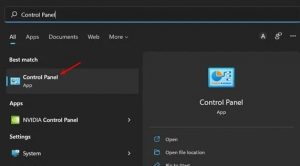
Control Panel. 2. Open the Control Panel and Click Hardware and Sound option.
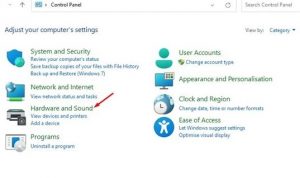
Hardware and Sound 3. Open the Hardware and Sound Options; click on Power Options.
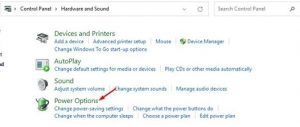
Power Options 4. After Clicking on Power Options, Click Create a power plan on the Right side.
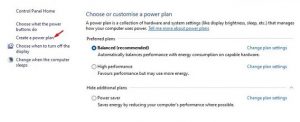
5. After Clicking Power Plan, Enter the Plan name in the Plan Name Section and Then Click on Next.
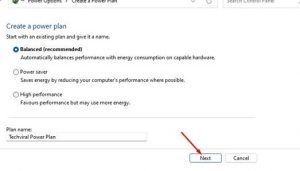
6. On these Steps, Click on the Create Button and enter.
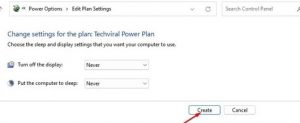
You can create your Custom Power Plan in Windows 11 by following these steps.
Customize the Power Plan on Windows 11
After Setup the Custom Power Plan in Windows 11, You can Customize the Power Plan on Windows 11 to Increase the Performance of your Computer. Let’s start it step by step;
Open the Windows Start Button and Search Control Panel in the First Step.
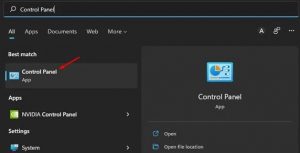
2. Open the Control Panel and click on Hardware and Sound
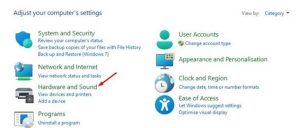
3. In the Third Step, Click on Power Options.
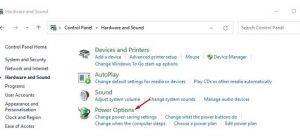
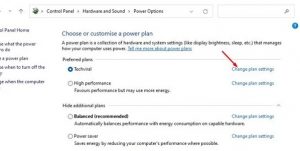
4. In the Fourth Step, Click on Change Plan settings
5. In this Step, Click on the Change advanced power Settings Option
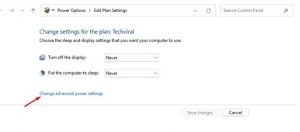
6. It opens the Power Windows; you must customize the Setting according to yourself.
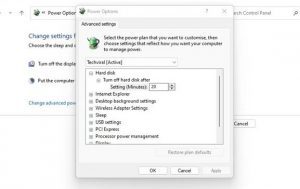
7. Once all steps are done, Click the OK Button.
You can Customise the Newly Power Plan in Windows 11 to follow all these steps. You can find other advanced Settings by exploring each new option.
How to Delete a Power Plan on Windows 11
If you have some mistakes and don’t want to use Power Plan on Windows 11, You may follow the below steps.
- In the first step, go to the Control Panel, then Hardware and Sound, and click Power Options.
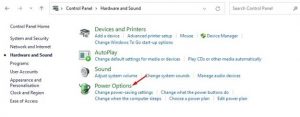
Power Options 2. You Cannot Change the Plan; you must Click Change plan settings.
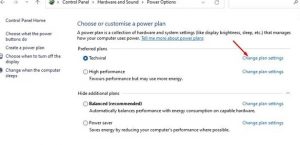
Change plan settings 4. In the Fourth Step, click on Delete Plan.
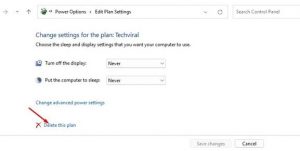
Delete this plan 5. In the last steps, You have to click OK, for Confirmation to delete the plan.
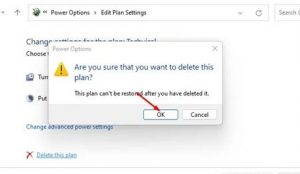
Delete this plan Power Saver, Balanced, or High-Performance power plan on Windows 11 Can’t be Deleted. The custom Power Plan that you have created can be deleted.
This is all about Custom Power Plan in Windows 11. Follow all these steps to create or delete Custom Power Plan in Windows 11.
For Further Tips and Tricks, Click Here.
