Fix Hard Drive Problems on Windows 11 is another important issue. Windows 11 have introduced some new features to keep in mind the user. Many users are facing issues while accessing their hard disk drives. This is due to Windows 11 being new and under-tested. It also has some bugs & glitches.
Recently, Windows 11 is not recognizing their hard disk, and drive file explorer is showing errors while accessing specific drives. If you face such an issue, you must Fix Hard Drive Problems on Windows 11.
Steps to Fix Hard Drive Problems on Windows 11
First, check your hard disk for errors in Windows 11; if you find a hard disk error, then use the Following Steps to Fix Hard Drive Problems on Windows 11;
1) Run the Disk Error Checking Utility
2) Run the Check Disk utility via Command Prompt
3) Other ways to check & repair hard disk errors
Let’s start it Step by step;
1) Run the Disk Error Checking Utility
Windows 11 has a Disk error checking utility that checks the drive for file system errors. Many tools help us quickly resolve Drive problems. There are the following steps to Fix Hard Drive Problems on Windows 11;
- Open the File Explorer on your Windows 11 PC in the first step.
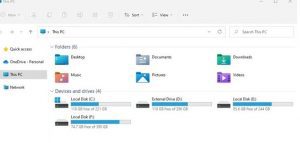
File Explorer 2. In the Second step, right-click on the drive where you find a problem and select Properties.
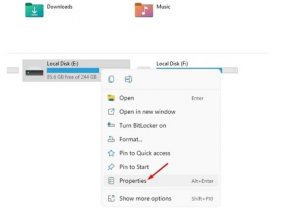
Properties 3. In the third step, click on the Tools tab in the Properties Window.
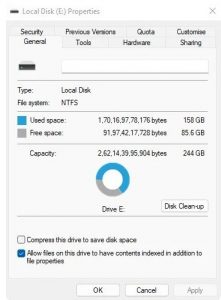
Tools tab 4. In the next Option, Tab on the Check button in the Error-checking section.

Check button 5. In the last step, click on the Scan drive option on the Error-checking utility.
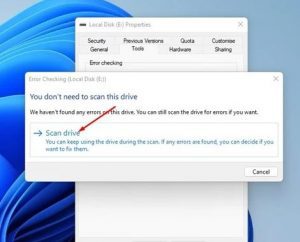
Scan drive option Disk checking utility of Windows 11 will run smoothly, find the file system errors and solve the problems.
2) Run the Check Disk utility via Command Prompt
Windows 11 Check Disk utility via Command Prompt to Fix Hard Drive Problems on Windows 11. There are the following steps;
- In the First step, Click on the Windows Search and type in Command Prompt. Right-click on the Command Prompt and select Run as Administrator.
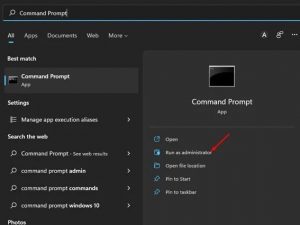
Run as Administrator 2. In the Command Prompt window, execute the command:
chkdsk /f c:
Command Prompt window Important Note: Replace the c with the drive letter you want to scan.
3. If you wish to fix bugs & on the hard drive, you need to execute the following command: chkdsk /r c:
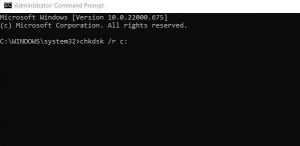
Important Note: replace c with the drive letter you want to scan.
So, In this way, the command prompt will run the chkdsk scan and fix hard drive problems on your PC. You can also make a scheduled scan to resolve all sorts of hard drive problems on Windows 11.
3) Other ways to check & repair hard disk errors
If the issue is not solved and you still face hard disk problems on your Windows 11, it’s best to use a third-party error-checking utility. Many third-party errors checking utilities are available to find and fix various hard drive-related problems.
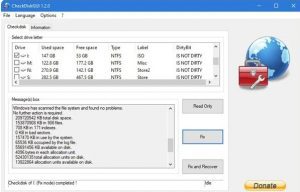
Hence, you can Fix Hard Drive Problems on Windows 11. Many Third-party tools are also used for this purpose. Ensure you have downloaded the tools from Trusted websites without any bugs or installation issues. If the hard disk error is not solved, you must change the hard drive.
For Further Tips and Tricks, Click Here.
