Install PowerToys in Windows 10 is another Important Topic for the Discussion. PowerToys is a set of design tools that improve the user experience of the Windows operating system.PowerToys is seen on Windows XP. It is available for Windows 10.
What is PowerToys?
PowerToys is a set of design tools that improve the user experience of the Windows operating system. PowerToys was available only for Windows 95 and XP but was recently also available for Windows 10.
It can rename multiple files, resize images in bulk, re-map keyboard buttons, and identify any color displayed on the screen in Windows 10. This article will cover How to Download & Install PowerToys on Windows 10.
Steps to Download & Install PowerToys in Windows 10
Still, PowerToys is not available in the Microsoft Store. You can Install PowerToys in Windows 10 from the GitHub link. There are some simple steps given below to Install PowerToys in Windows 10.
- In the First Step, open this GitHub Link and Download the PowerToys executable file in your Windows.

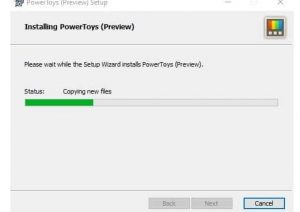
PowerToys executable file 2. In the Second Step, Run the executable file and wait for the installation completes.

Run the executable file. 3. Once the Installation is Complete, Launch the PowerToys application.

PowerToys application 4. In this Step, Right-click on the Powertoys icon and Click On ‘Settings.’

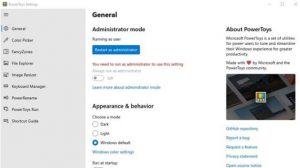
Powertoys icon 5. Then You will find the Powertoys setting on the windows Screen.

Powertoys setting 6. Update the Powertoys; click on the ‘General’ tab and then click the ‘Check for updates button.

Check for updates In this way, how you can download & install PowerToys on Windows 10 and update it by following the steps.
For Further Tips and Tricks, Click Here.
